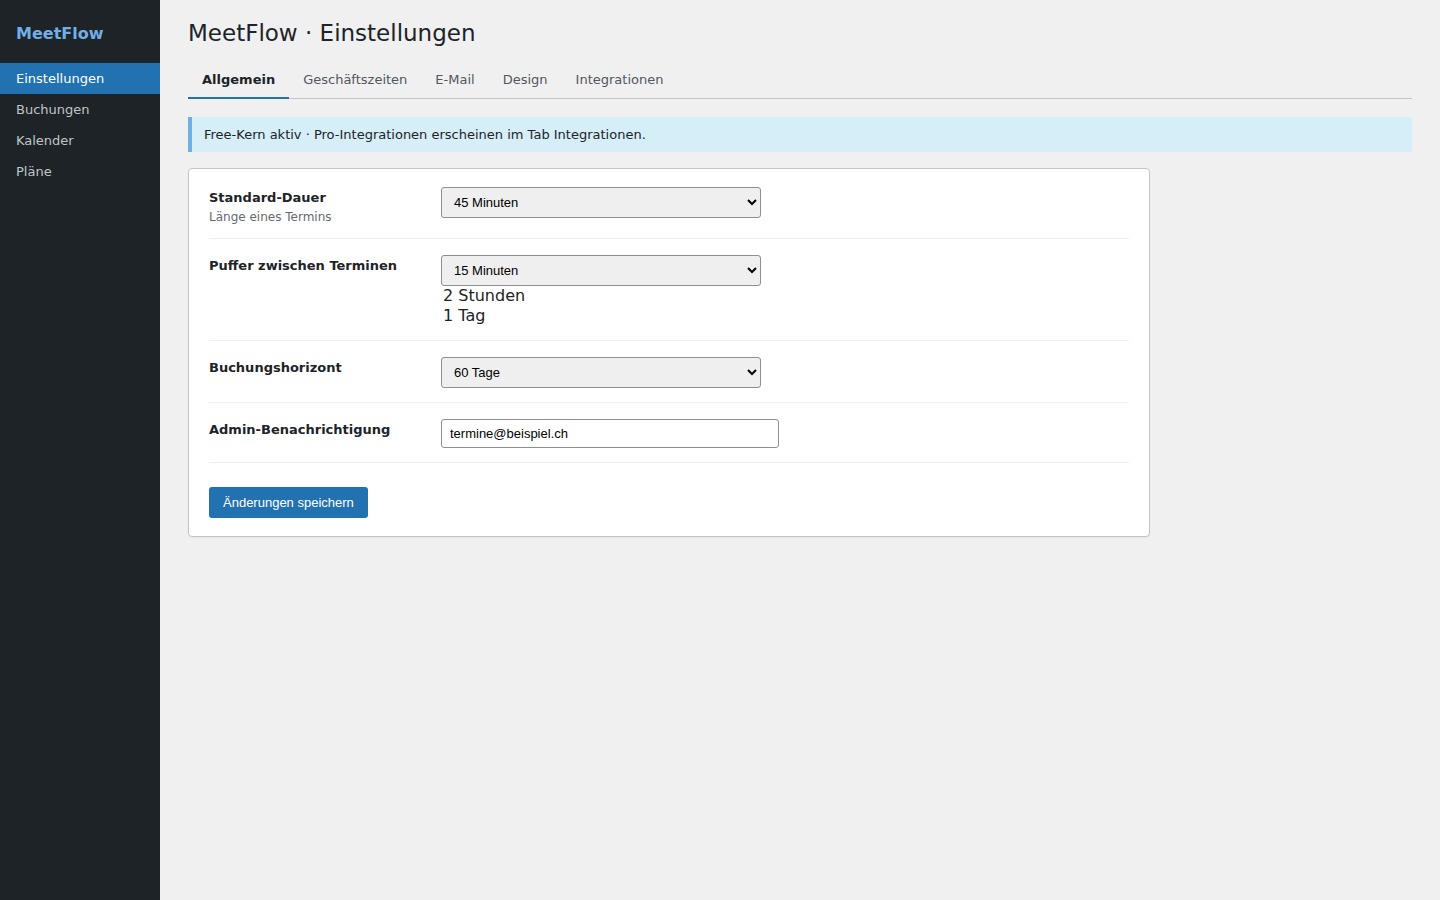
MeetFlow → Settings → Design: optional custom CSS for frontend and admin.
Add shortcode to a page: [meetflow_booking] (legacy [kitech_booking] still works).
Note: The Email tab is included in Free (notifications, distribution list, reminders, customizable texts). Design and language settings apply to Free and Pro. Pro adds video conferences and SMS.
Detailed guides also in the plugin under Settings → Setup Guide.
Pro meeting links and SMS do not change the frontend layout — same form, extended backend features.
Languages & translations
Free & Pro share the same free core and text domain kitech-meetflow.
Bundled languages
German (de_DE, de_CH)
French (fr_FR)
Italian (it_IT)
WordPress locale
Settings → General → Site Language — frontend & emails follow site locale.
Users → Profile → Language — admin UI in personal language when set.
After WordPress.org release: more languages via Dashboard → Updates → Translations.
Translation plugins
Loco Translate — edit strings; files in wp-content/languages/plugins/ override bundled .mo files.
Polylang / WPML / TranslatePress — MeetFlow reloads textdomain when the active language changes.
Pro provider tabs and setup guides are translated. In the setup sections below, the left column shows the exact label in the provider console; the right column shows the MeetFlow field name — copy values across, but do not assume the labels are identical (e.g. Azure «Application (client) ID» → MeetFlow «Client ID»).
Install Pro & license
Free must be active (2.2.11+ recommended; minimum 2.2.7).
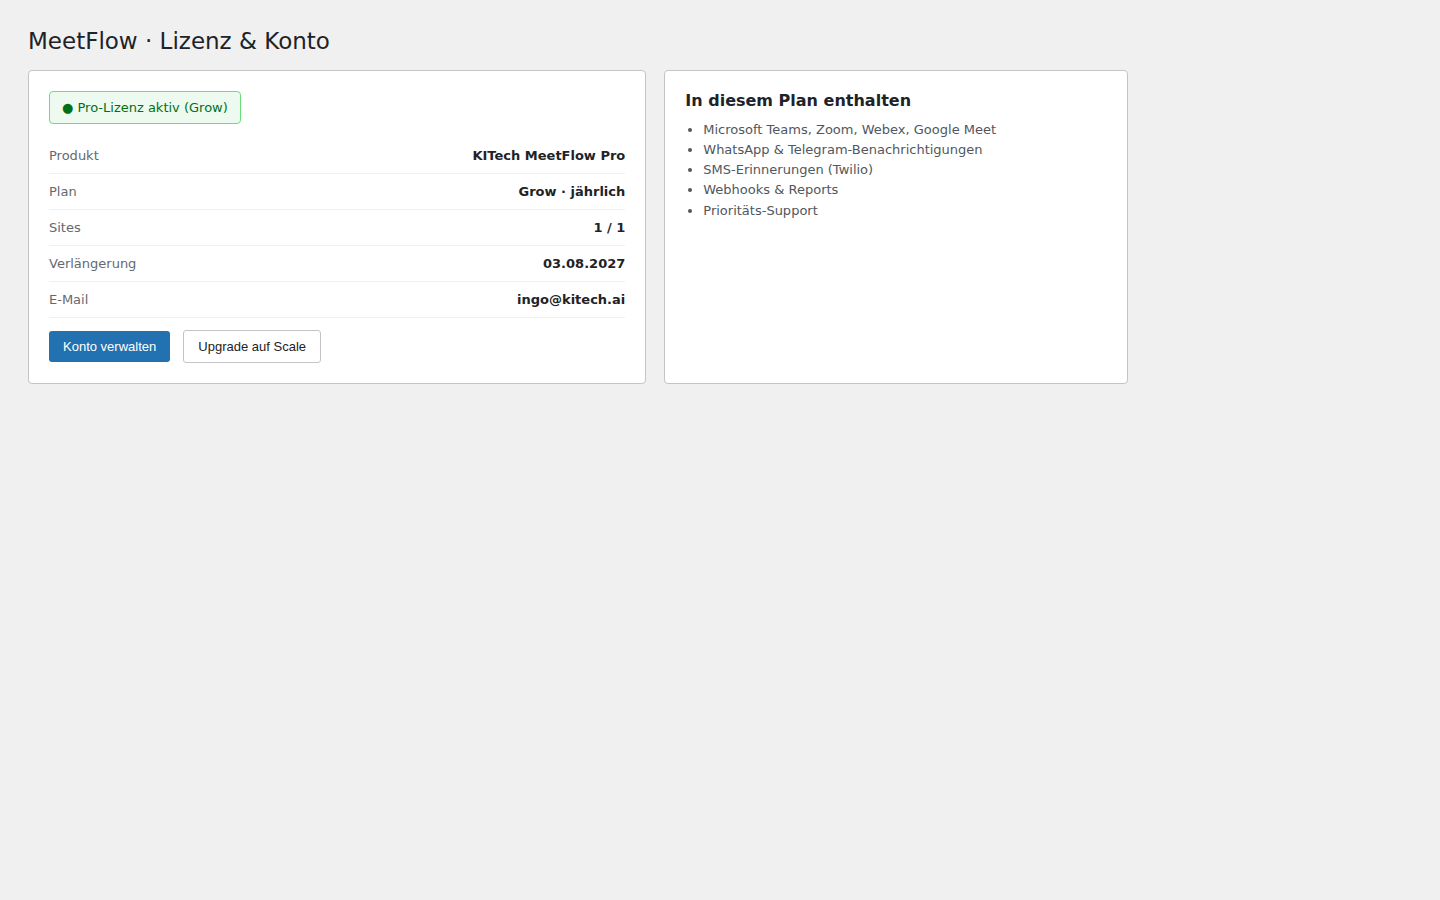
MeetFlow → License — enter license key or register holder details.
Connect providers under Settings → Video Conference.
Microsoft Teams / Azure
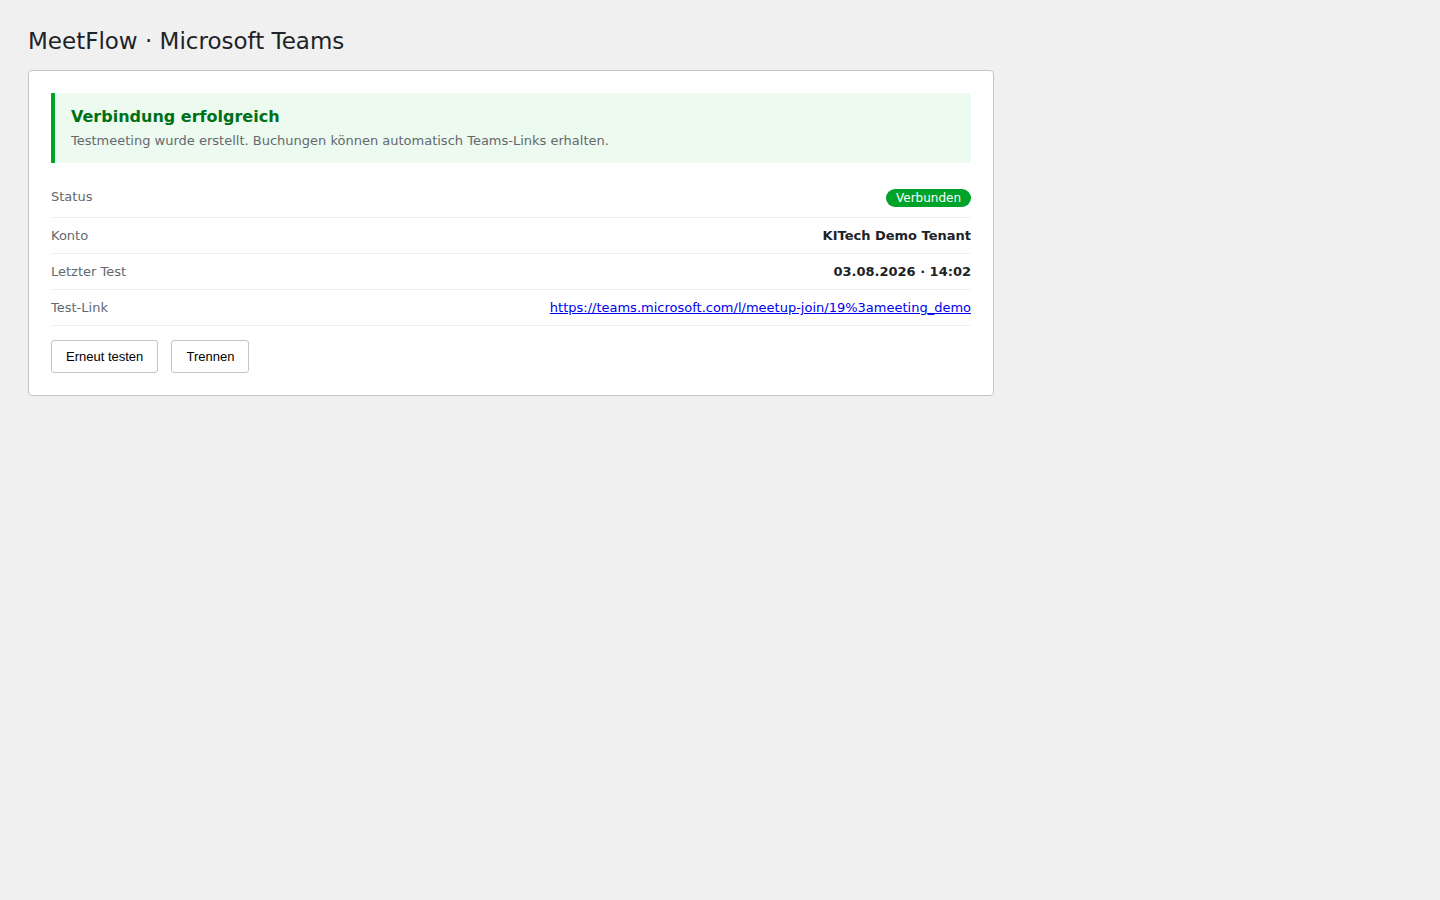
MeetFlow tab: MeetFlow → Settings → Video Conference → Microsoft Teams. Copy redirect URI and IDs from MeetFlow — adjust per environment (e.g. dev.lireno.ch / production).
How to read the tables: Left = exact name in the Azure portal. Right = field label in MeetFlow. Transfer the value from left to right — labels often differ (e.g. «Application (client) ID» → «Client ID»).
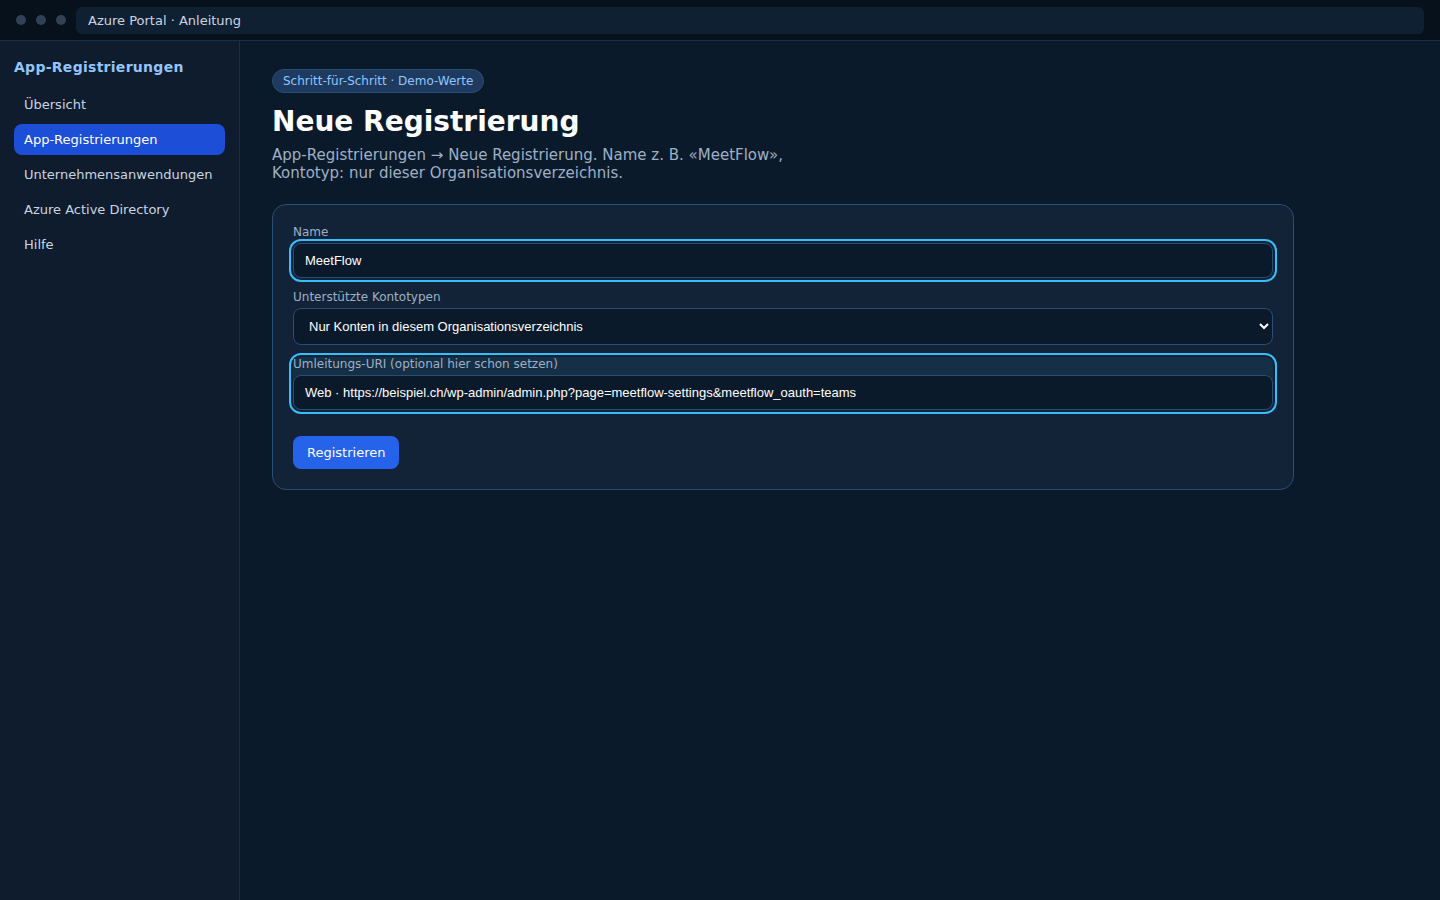
Azure portal → Microsoft Entra ID → App registrations → New registration.
Name:MeetFlow.
Supported account types: «Accounts in this organizational directory only» (single-tenant) or «Accounts in any organizational directory» (multi-tenant).
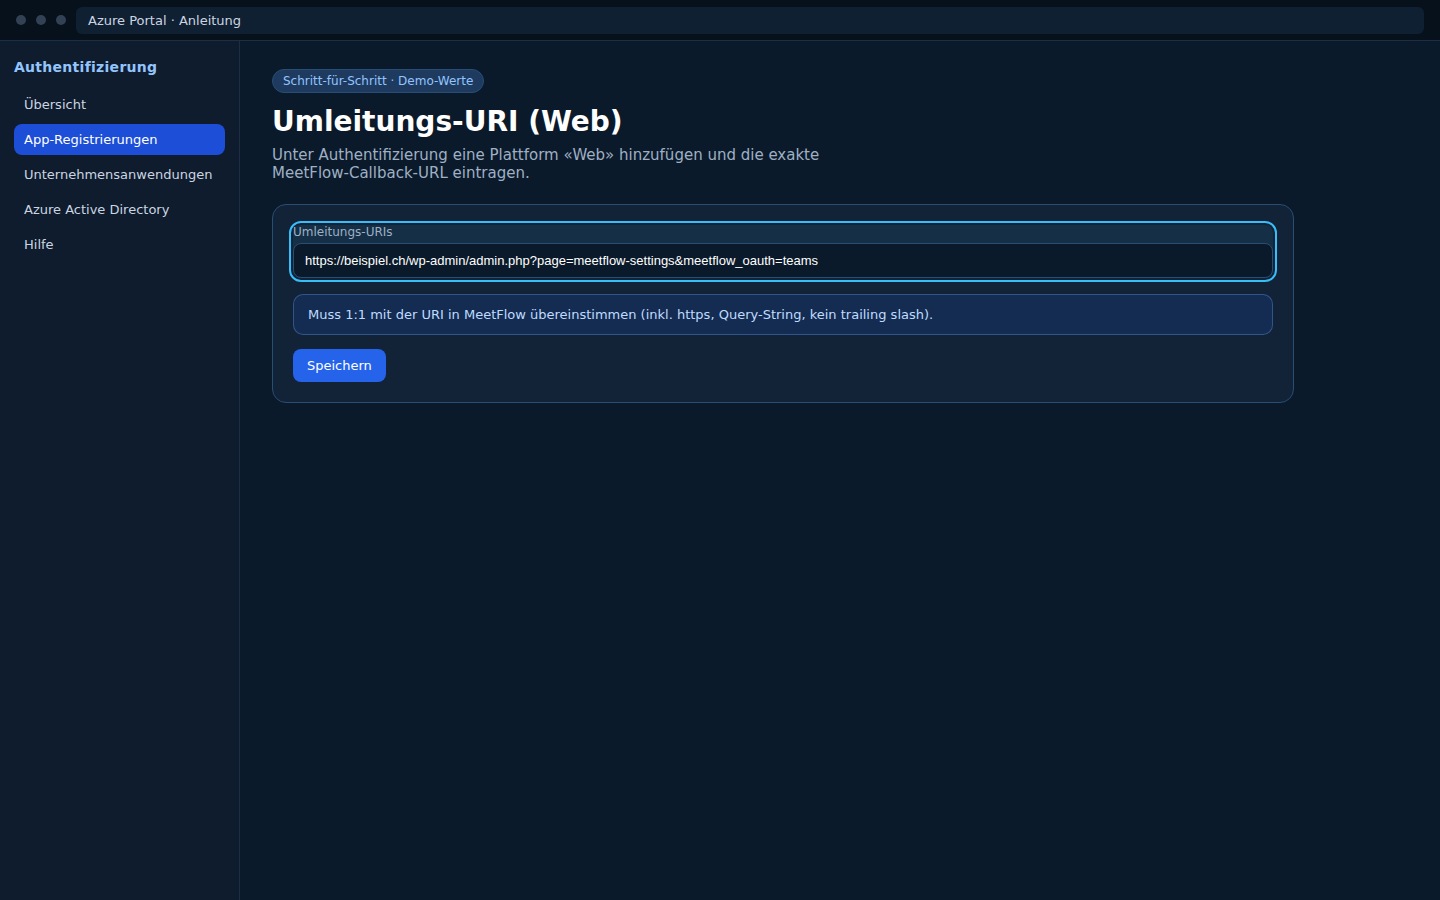
Redirect URI (Web): copy from MeetFlow, e.g. https://dev.lireno.ch/wp-admin/admin.php?page=meetflow-settings&auth=microsoft
2) IDs and client secret
In Azure portal (exact name)
In MeetFlow (field label)
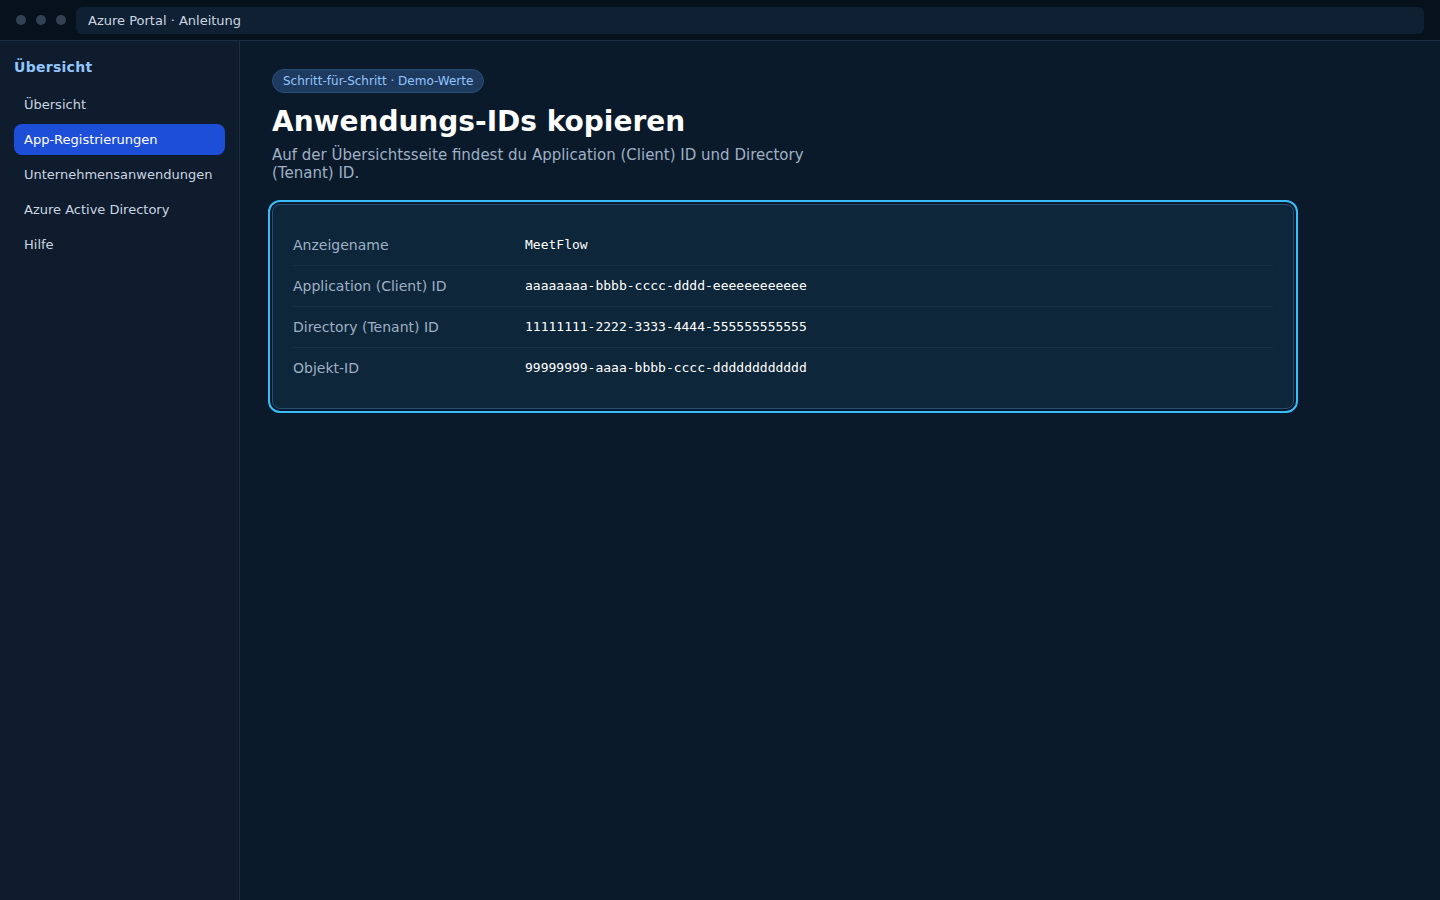
Overview → Application (client) ID
Client IDVideo Conference → Microsoft Teams
Overview → Directory (tenant) ID (GUID)
Tenant IDDo not use common for single-tenant apps
Certificates & secrets → Client secrets → New client secret → column Value
Client SecretPassword field — leave blank if unchanged
3) API permissions
API permissions → Add a permission → Microsoft Graph → Delegated permissions.
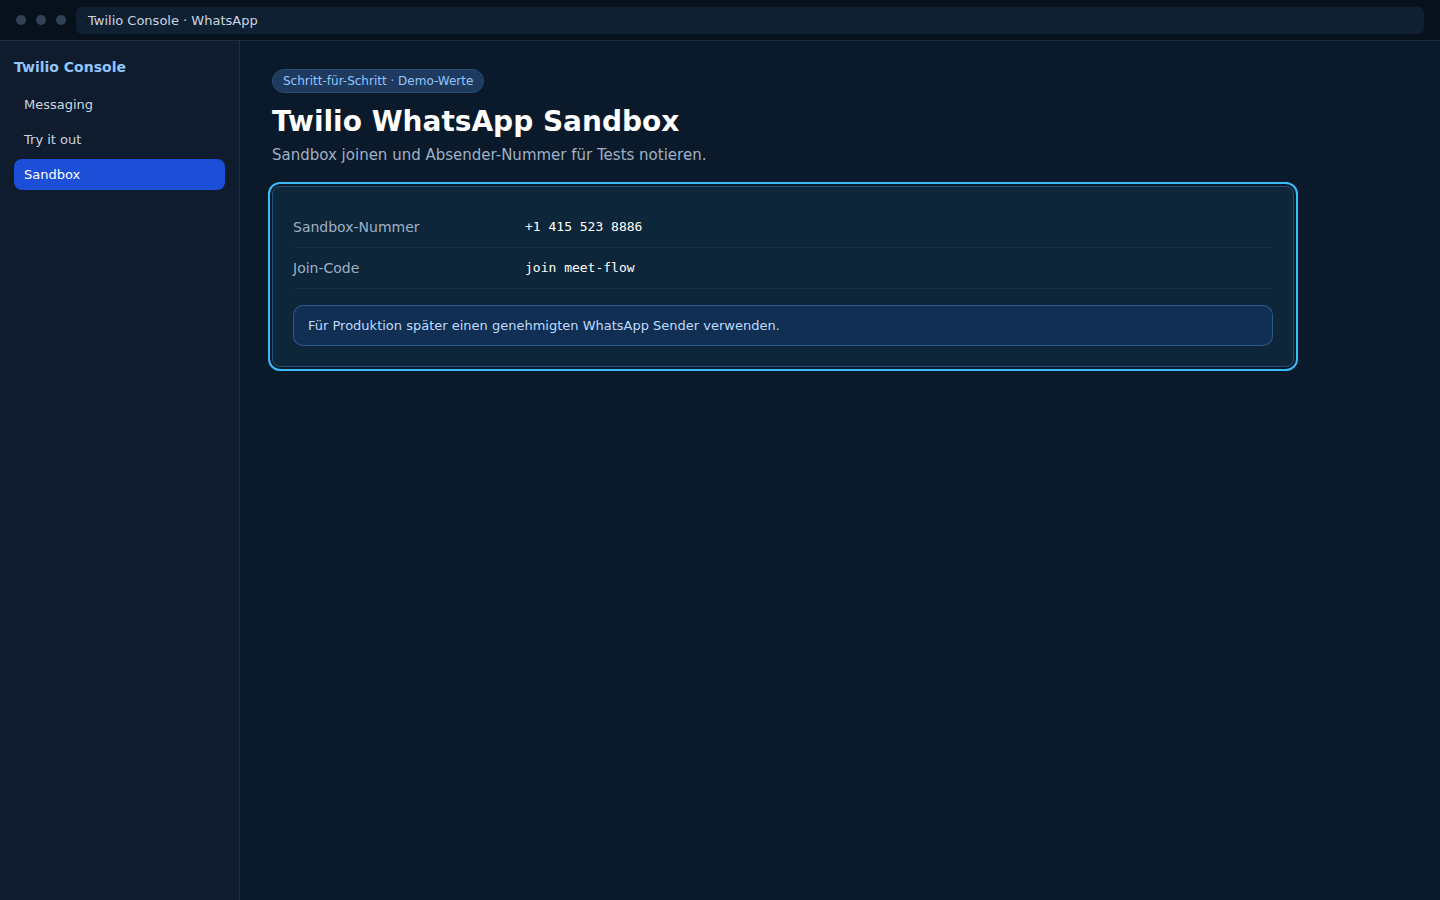
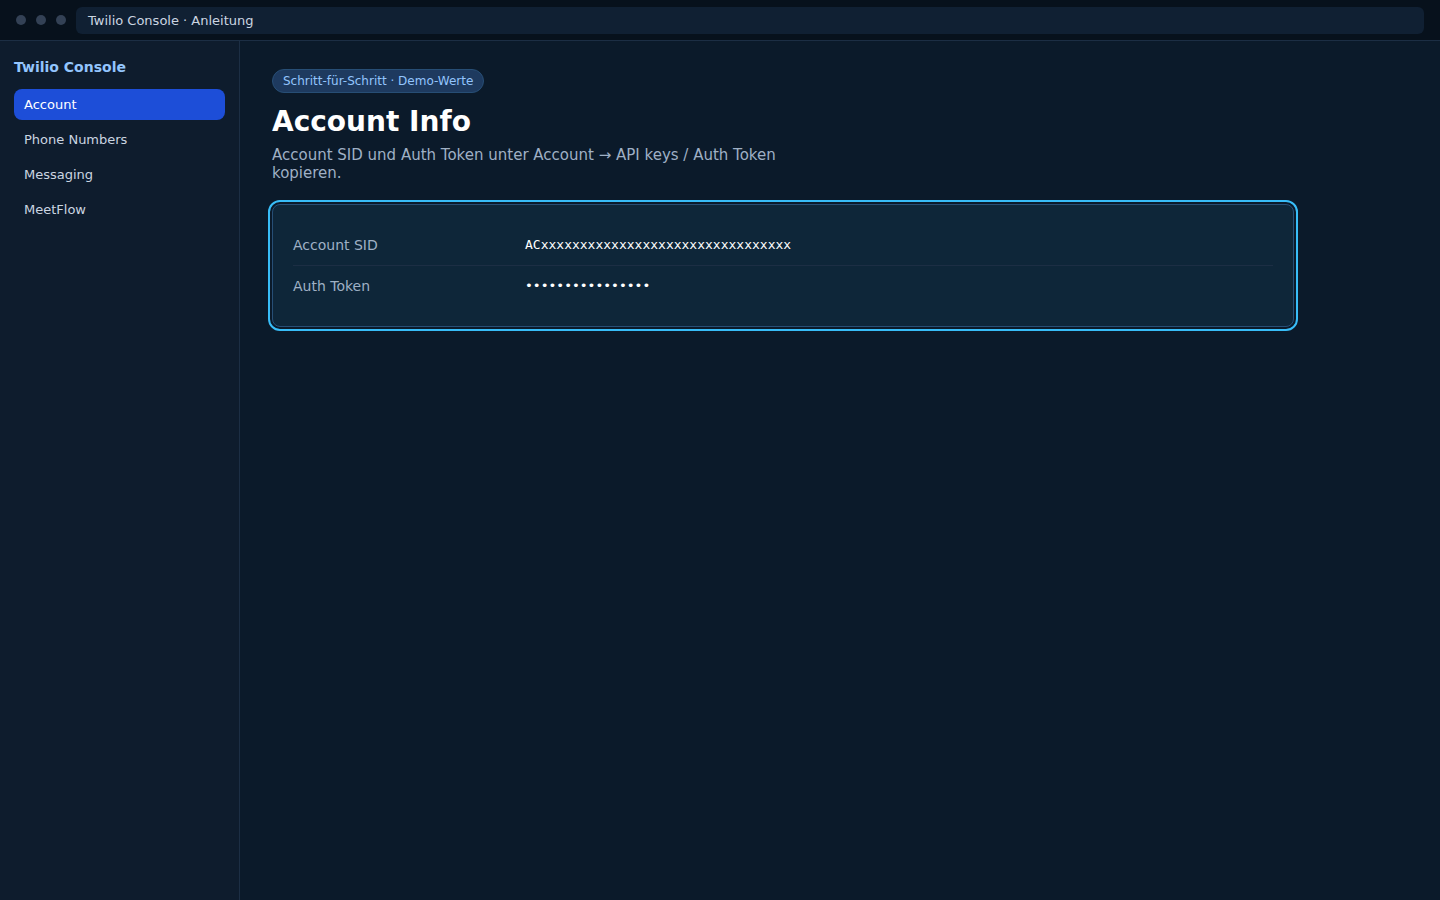
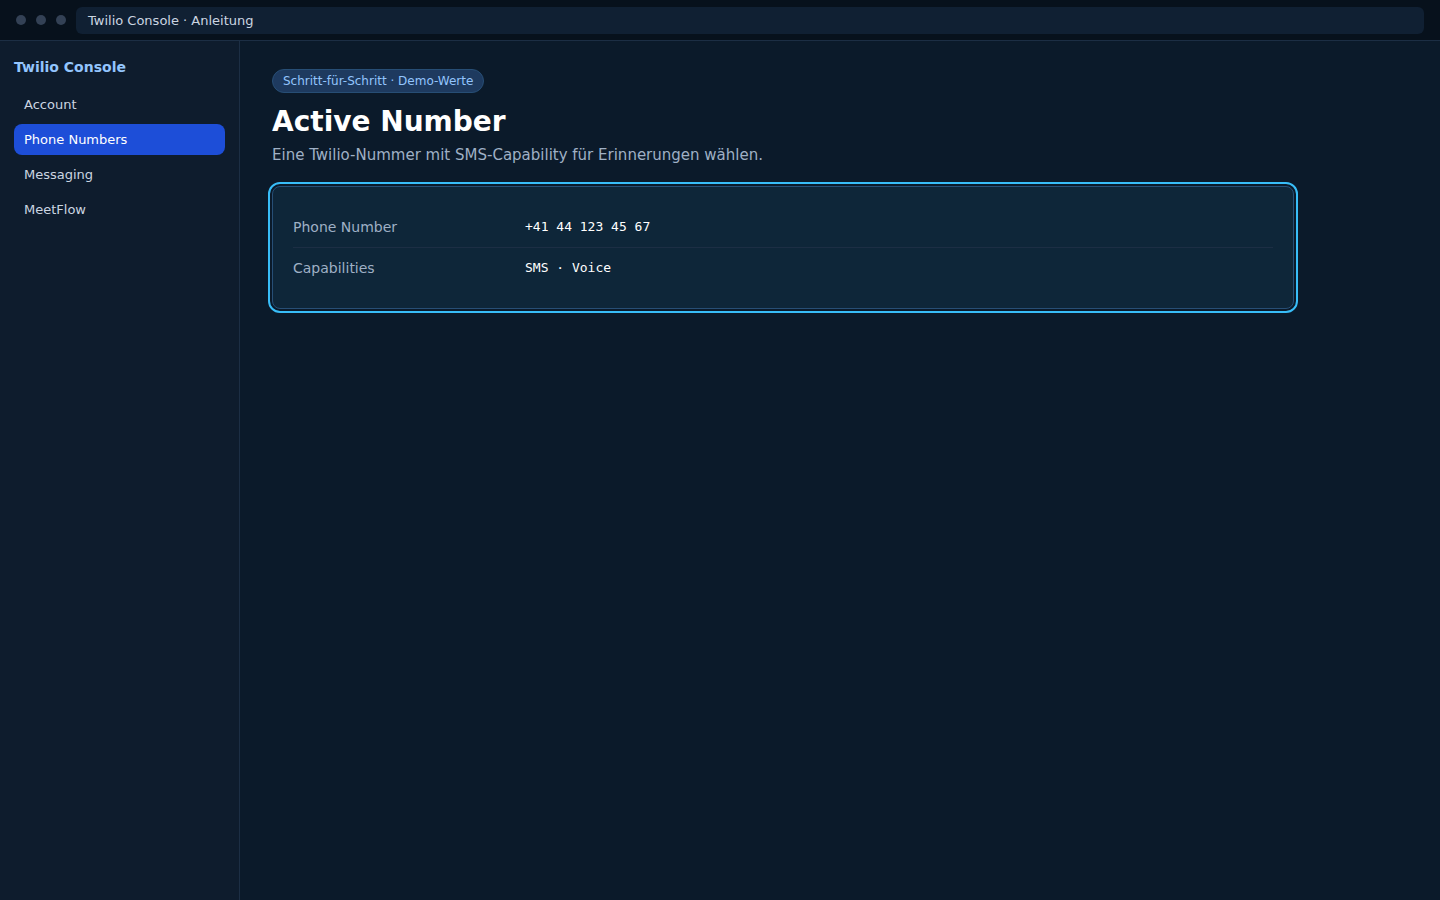
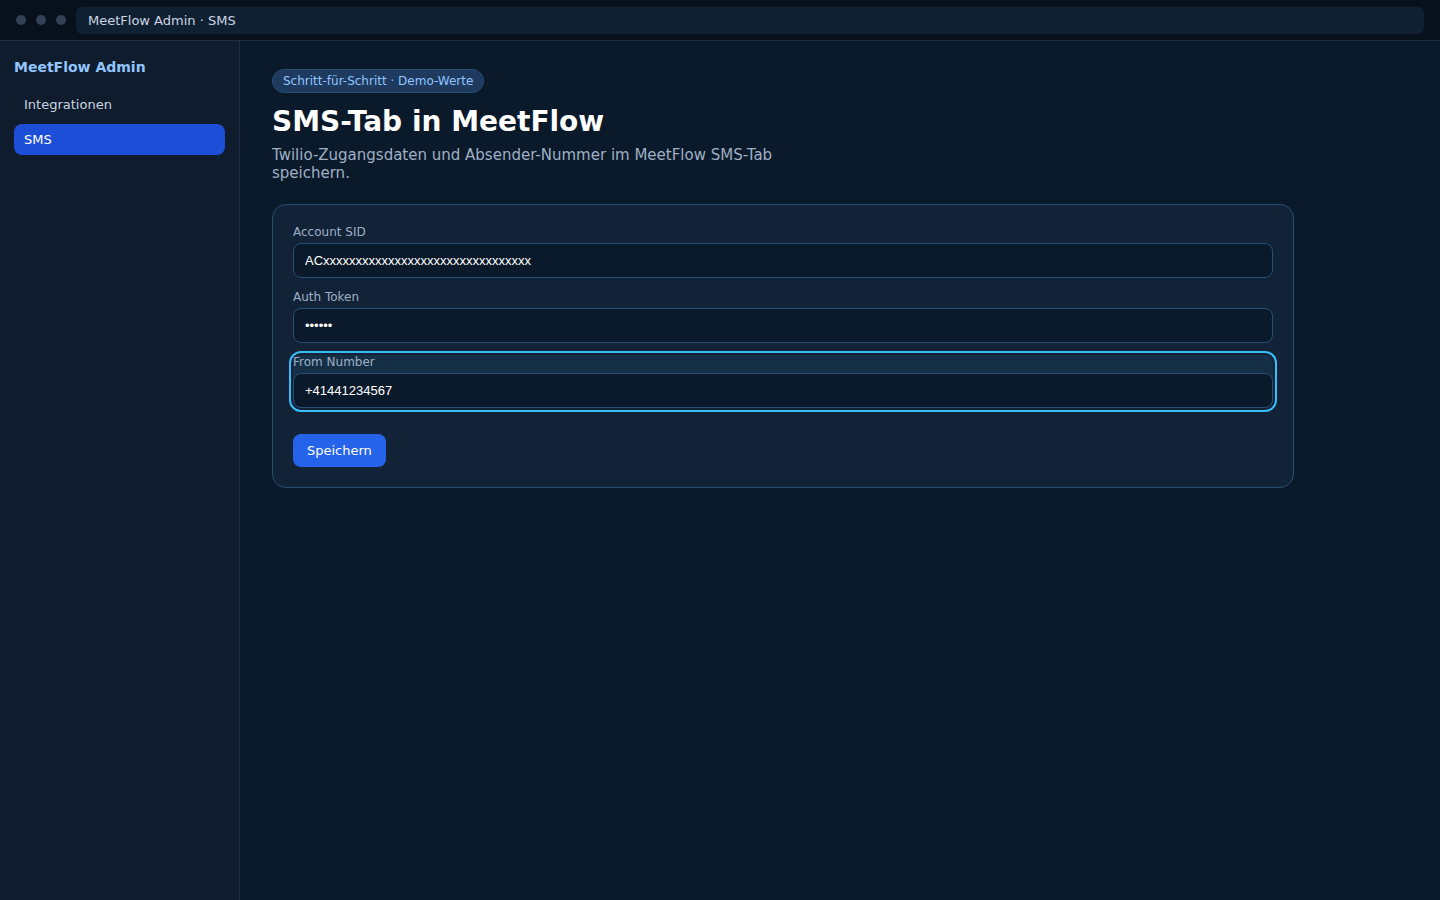
With SMS provider → Twilio (default), you only need Account SID, Auth Token, and Phone Number. MeetFlow calls the Twilio REST API automatically — you do not need to enter an API URL.
Twilio’s standard REST API base URL is https://api.twilio.com/2010-04-01. SMS are sent via resource endpoints such as /Accounts/{AccountSID}/Messages.json.
The Custom API URL field applies only when you select Custom API as the SMS provider — for example your own SMS gateway or middleware. In that case, enter your service base URL, not a value from the Twilio Console.
Other Twilio APIs (e.g. Intelligence API at https://intelligence.twilio.com) are not used by MeetFlow for SMS reminders.
Booking missing from the report? Check the date range: a booking created today with an appointment next week appears under the appointment date when filtering by «Appointment date» — switch to «Created date» instead. See Troubleshooting Reports.
Webhooks (Grow+)
MeetFlow tab: MeetFlow → Settings → Integrations. Requires the Grow or Scale plan (Pro 2.2.52+ recommended).
MeetFlow sends JSON POST requests to your URLs when bookings are created or cancelled — for CRM, Slack, Zapier, Make, n8n or custom apps.
Webhooks are tool-agnostic — the same URL works with Zapier, n8n, Make and custom apps. Detailed guides: Zapier · n8n · Make.
Zapier
MeetFlow tab: MeetFlow → Settings → Integrations. Webhooks: Grow+ plan. REST polling: Scale plan — see Automation API.
Two options: instant triggers via webhooks (recommended) or polling via the REST API with an API key.
Option A — Instant trigger (Catch Hook)
In Zapier: Create Zap → trigger «Webhooks by Zapier» → «Catch Hook».
Copy the hook URL shown (format https://hooks.zapier.com/hooks/catch/…/…/).
In MeetFlow: paste it into Settings → Integrations → Webhook URLs → enable «Booking created» → save.
Click «Send test webhook» → in Zapier click Test trigger → sample data appears.
Add an action in Zapier (e.g. Gmail, Slack, Google Sheets, WaNotifier) and map fields from booking.
Publish the Zap → make a real test booking.
Option B — Polling (REST API with API key)
Endpoint and API key details: Automation API (Scale). In Zapier: trigger «Webhooks by Zapier → GET» with the bookings endpoint and header X-MeetFlow-API-Key.
Example: WhatsApp message via WaNotifier
Goal: send a WhatsApp message on every booking. Full WaNotifier guide including API key: WaNotifier (WhatsApp).
Zap as in Option A: Catch Hook trigger ← MeetFlow webhook.
Action: app WaNotifier → on first use «Connect to Zapier» appears — paste API key from WaNotifier (see find API key).
Choose «Send Message Template (Via a Notification)».
Map recipient number, transactional notification, template variables from booking fields.
Test action → check WhatsApp → publish the Zap.
Note: The WaNotifier action «Send Message (Within Active Session)» only works if the recipient messaged you within the last 24 hours. Always use the template action for booking confirmations.
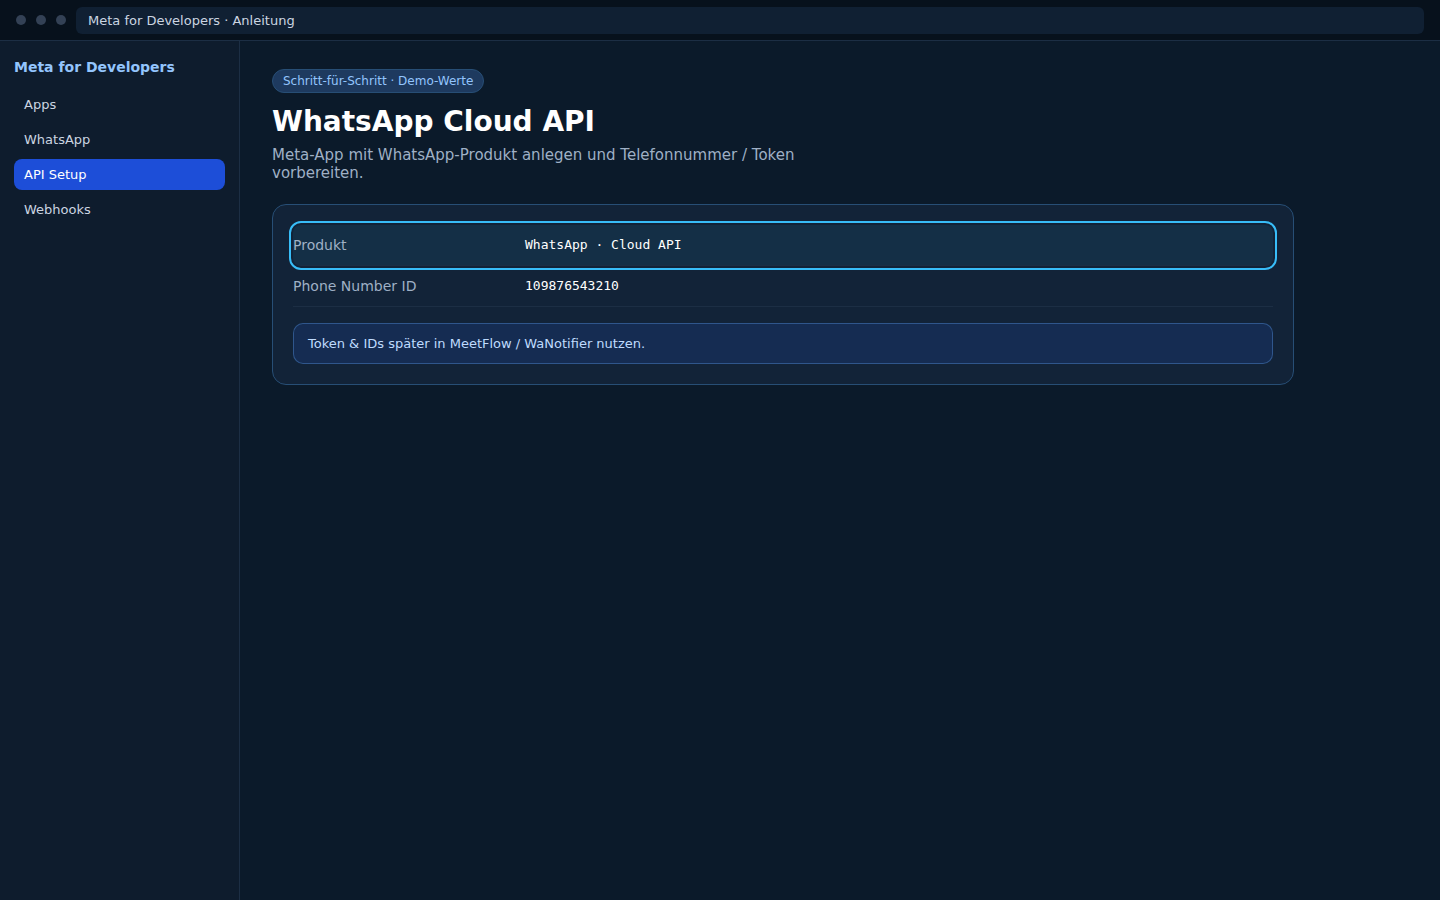
WhatsApp: WaNotifier/Zapier or direct via Meta?
For WhatsApp booking reminders there are two independent paths — you do not need both.
Path
When it fits
Where to set up
Direct Meta Cloud API
WhatsApp reminders only from MeetFlow (no Zapier). Fewer moving parts; credentials live in MeetFlow.
1) Find your WaNotifier API key (for Zapier «Connect to Zapier» popup)
When you add a WaNotifier action in Zapier, a popup «Connect to Zapier» appears with «Enter API Key (required)». This key comes from your WaNotifier account — not from MeetFlow.
Section Direct Integrations → under API Integration click Manage.
Open tab API Keys.
Field My API Key → button Copy.
Path B (alternative — via phone number):
Left sidebar: expand your WhatsApp number (e.g. +41 76 739 91 88).
Settings (gear icon) next to the number.
Tab API or API Keys → copy the key.
Optional: Add New Key — create a dedicated key for Zapier only.
Back in Zapier: paste the key → Connect. Zapier verifies and confirms the connection.
2) Create a transactional notification in WaNotifier
Before mapping in Zapier — without this notification the Zapier field Transactional Notification stays empty («No options are available»).
Prerequisite: First create a Utility message template in WaNotifier and get it approved by Meta. Without an approved template you cannot create a transactional notification. Approval often takes 24–48 hours.
WaNotifier: Notifications → Add New (not «Broadcast» or «Marketing»).
Name: e.g. «MeetFlow New Booking».
Type: exactly Transactional / Integration / API (other types won't appear in Zapier).
Trigger:API request to a Webhook URL.
Message Template: pick an approved utility template.
No separate MeetFlow module required — n8n uses the same Webhooks (Grow+) or Automation API (Scale) as Zapier.
Option A — Instant trigger (Webhook node, recommended)
In n8n: create a new workflow → add a Webhook node as the trigger.
HTTP Method:POST · Path: e.g. meetflow-booking (your choice).
Activate the workflow → copy the production URL (e.g. https://your-n8n.example.com/webhook/meetflow-booking).
In MeetFlow: paste into Settings → Integrations → Webhook URLs → enable «Booking created» → save.
Click «Send test webhook» in MeetFlow → check execution log in n8n.
Add more nodes: e.g. Slack, Gmail, HTTP Request (WaNotifier), Google Sheets.
Map fields from the webhook body: {{ $json.booking.customer_name }}, {{ $json.booking.booking_date }}, {{ $json.booking.booking_time }}, {{ $json.booking.meeting_url }} …
Make a real test booking → verify execution in n8n.
Note: n8n must be reachable via HTTPS from your WordPress site. For self-hosted n8n: valid TLS certificate and no firewall blocking outbound requests from WordPress.
MeetFlow tab: MeetFlow → Settings → Integrations (Zapier section — technically a generic API for Zapier, n8n, Make and custom scripts). Requires the Scale plan.
Field in MeetFlow
Usage
Bookings endpoint
GET https://your-site.com/wp-json/meetflow/v1/integrations/bookings Query: since (ISO datetime), status, limit (max 100)
Pro: /whatsapp/webhook, /stats (admin), /integrations/bookings + /integrations/bookings/{id} (Scale, API key — see Automation API). Set permalinks to «Post name».
WordPress.org (Free)
No Pro code, no trialware, no external API calls in the Free build
Current release: Free & Pro 2.2.52 (released ). Milestone highlights below — full changelog in the plugin readme.txt. Release dates use ISO YYYY-MM-DD.
Version
Released
Changes
v2.2.52
Freemius WordPress SDK updated to 2.13.4
v2.2.49
Scale: White Label expanded (logo, brand name, favicon, custom CSS)
v2.2.44
WordPress.org review: Design tab cleanup, text domain aligned to plugin slug
v2.2.43
Fix: «Send test webhook» / «Regenerate API key» (nonce mismatch)
v2.2.42
Reports: wider date range; filter by appointment or created date
v2.2.37
Grow+: Reports & webhooks; Scale: Zapier / automation REST API
v2.2.26
Fix: Microsoft Teams OAuth (Tenant ID = Directory GUID)
v2.2.16
Pro: redesigned Video Conference tab; platform setup guides with official API links
Free: Email tab always visible; appointment reminders by email
v2.2.3
WP.org: renamed to KITech MeetFlow; Free build without extension code
v2.2.0
Rebrand to MeetFlow; shortcode [meetflow_booking]; hardened REST/AJAX endpoints
v2.1.x
Earlier releases under the previous plugin name (MeetPress line)
v1.0.0
Initial release: booking, email with ICS, REST API, admin overview
MeetFlow v2.2.52 — a product by KITech
Setup assistant
The MeetFlow Setup Assistant (chat bottom right on every docs page) supports all provider setups with step-by-step answers. The same component is also used on SuperNav.